Entry of
How to knit socks on double-pointed needles
A cuff-down sock is seven named stages worked in one continuous piece. Once the sequence is clear, the only real decisions are the stitch count and the length.
Socks look intimidating because the heel is described in language that means nothing until you have done it once. Everything else is a tube. This entry follows the cuff-down method on double-pointed needles, which is the version most patterns assume.
Why sock gauge is tighter than sweater gauge
A sock is abraded from both sides every time it is worn. Loose fabric lets the fibers move against each other, and moving fibers wear through. Sock yarn, category 1 in the standard weight system, is therefore knitted tighter than the ball band suggests: commonly 8 to 9 stitches per inch on 2.25 to 2.5 mm needles, where the band might propose 2.75 mm.
It is also why so much sock yarn is 75 per cent wool and 25 per cent nylon. The nylon is there for the heel and the ball of the foot, and it is the reason a hand-knitted sock in a pure merino lasts one winter while the same sock in a blend lasts several.
The two measurements
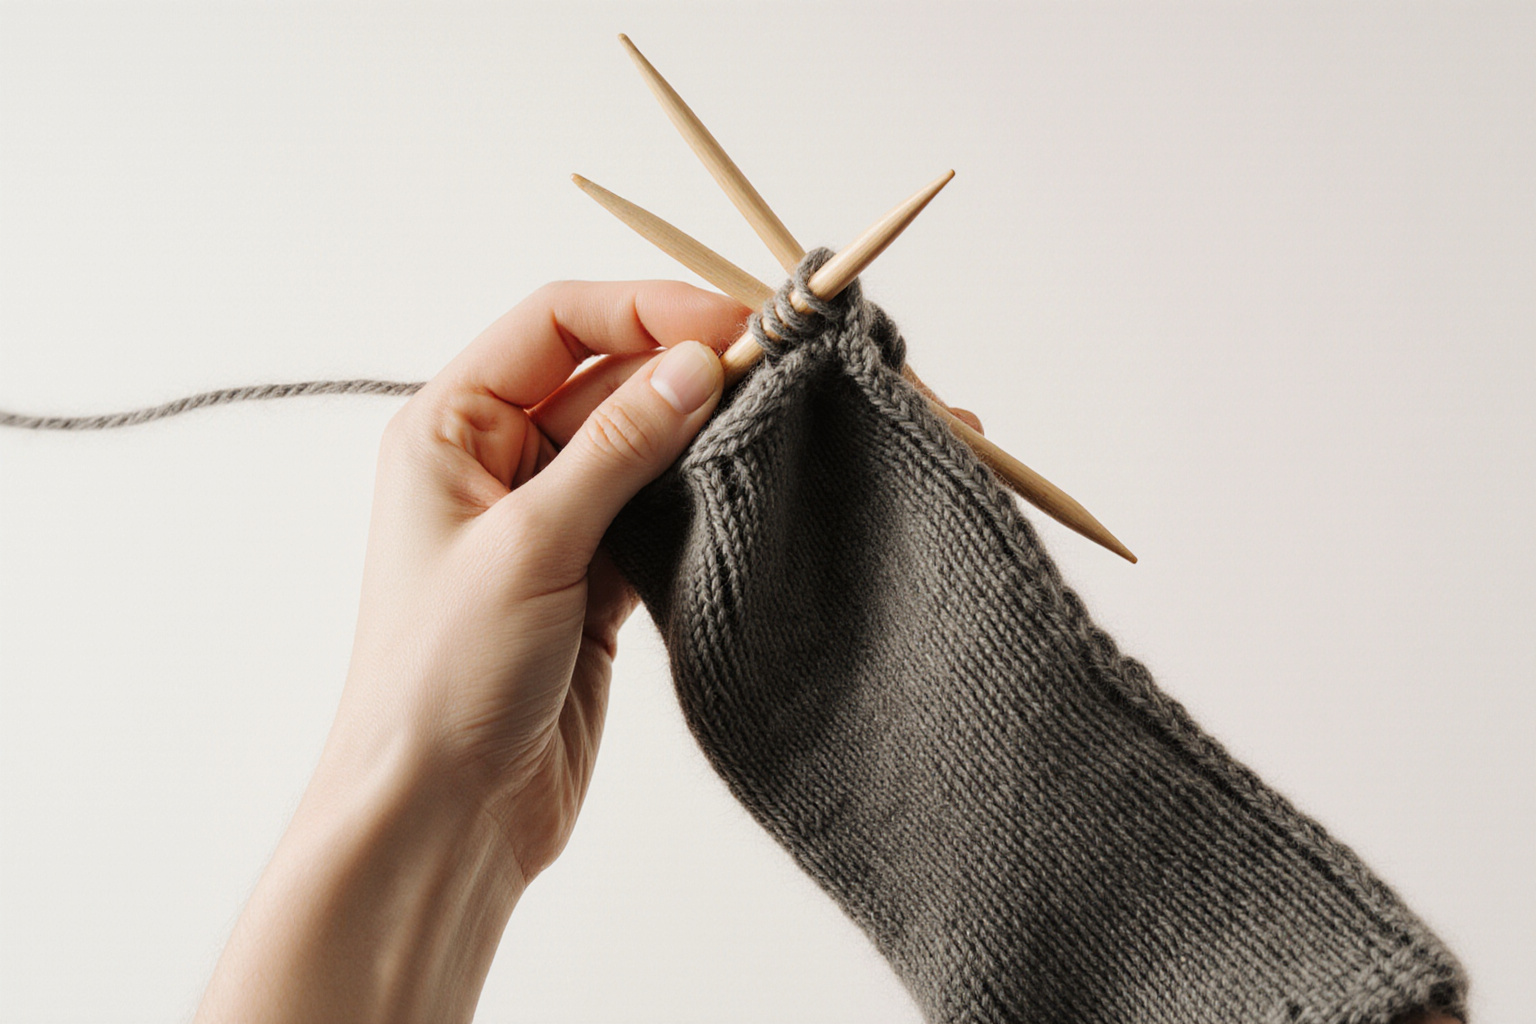
Measure the foot around the ball, and from the back of the heel to the tip of the longest toe. A sock needs negative ease, about ten per cent, so that it stays up: aim for a sock circumference roughly half an inch to an inch (1 to 2.5 cm) smaller than the foot.
| Foot circumference | Target sock circumference | At 8 sts per inch | At 9 sts per inch |
|---|---|---|---|
| 7.5 in (19 cm) | 7 in | 56 | 64 |
| 8 in (20 cm) | 7.25 in | 60 | 64 |
| 9 in (23 cm) | 8.25 in | 64 | 72 |
| 10 in (25 cm) | 9 in | 72 | 80 |
The seven stages
- Cuff. One by one or two by two rib for 1.5 to 2 inches. This is what holds the sock up; do not shorten it.
- Leg. Plain rounds, or a stitch pattern, to the length you want: 6 to 8 inches for a crew sock, 2 for an ankle sock.
- Heel flap. Half the stitches, worked back and forth. Right side: slip one, knit one, all the way across. Wrong side: slip one, purl to the end. Work until the flap is square, which is as many rows as it has stitches.
- Heel turn. Short rows that fold the flap into a cup. Each row goes one stitch further than the last and ends with a decrease and a turn.
- Gusset. Pick up one stitch in every slipped chain along both sides of the flap, then decrease at both sides every other round until the original stitch count is back.
- Foot. Plain rounds until the sock is 1.5 to 2 inches (4 to 5 cm) short of the total foot length.
- Toe. Decrease four stitches every other round, then every round, until a quarter of the stitches remain. Graft the last stitches together.
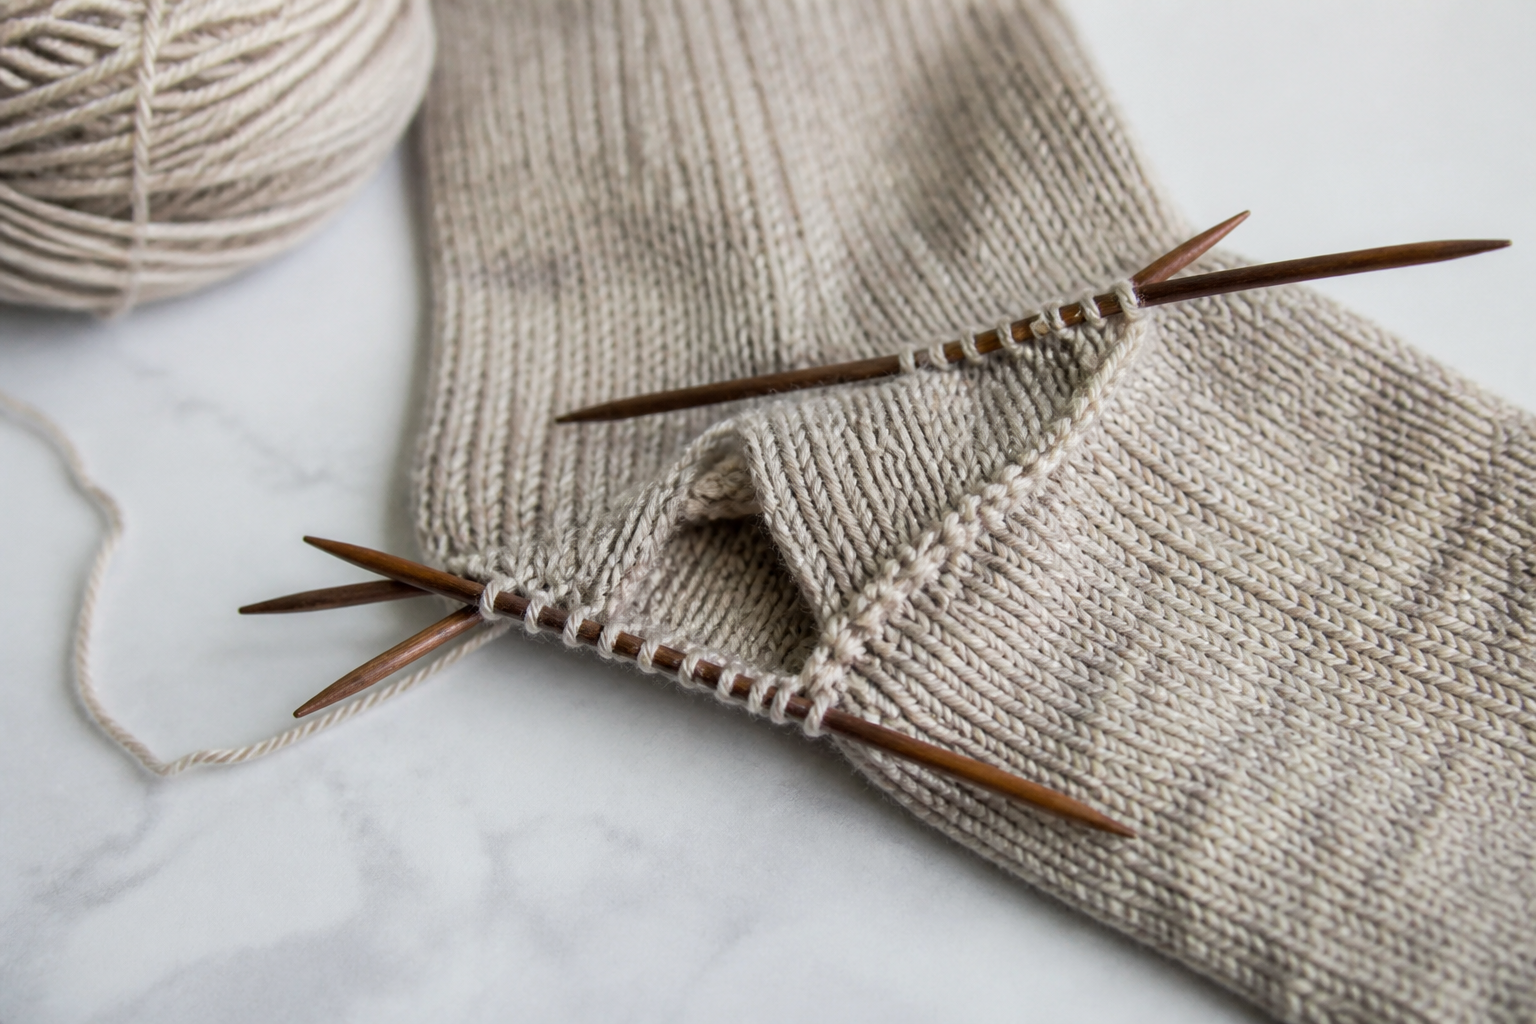
The heel flap, in numbers
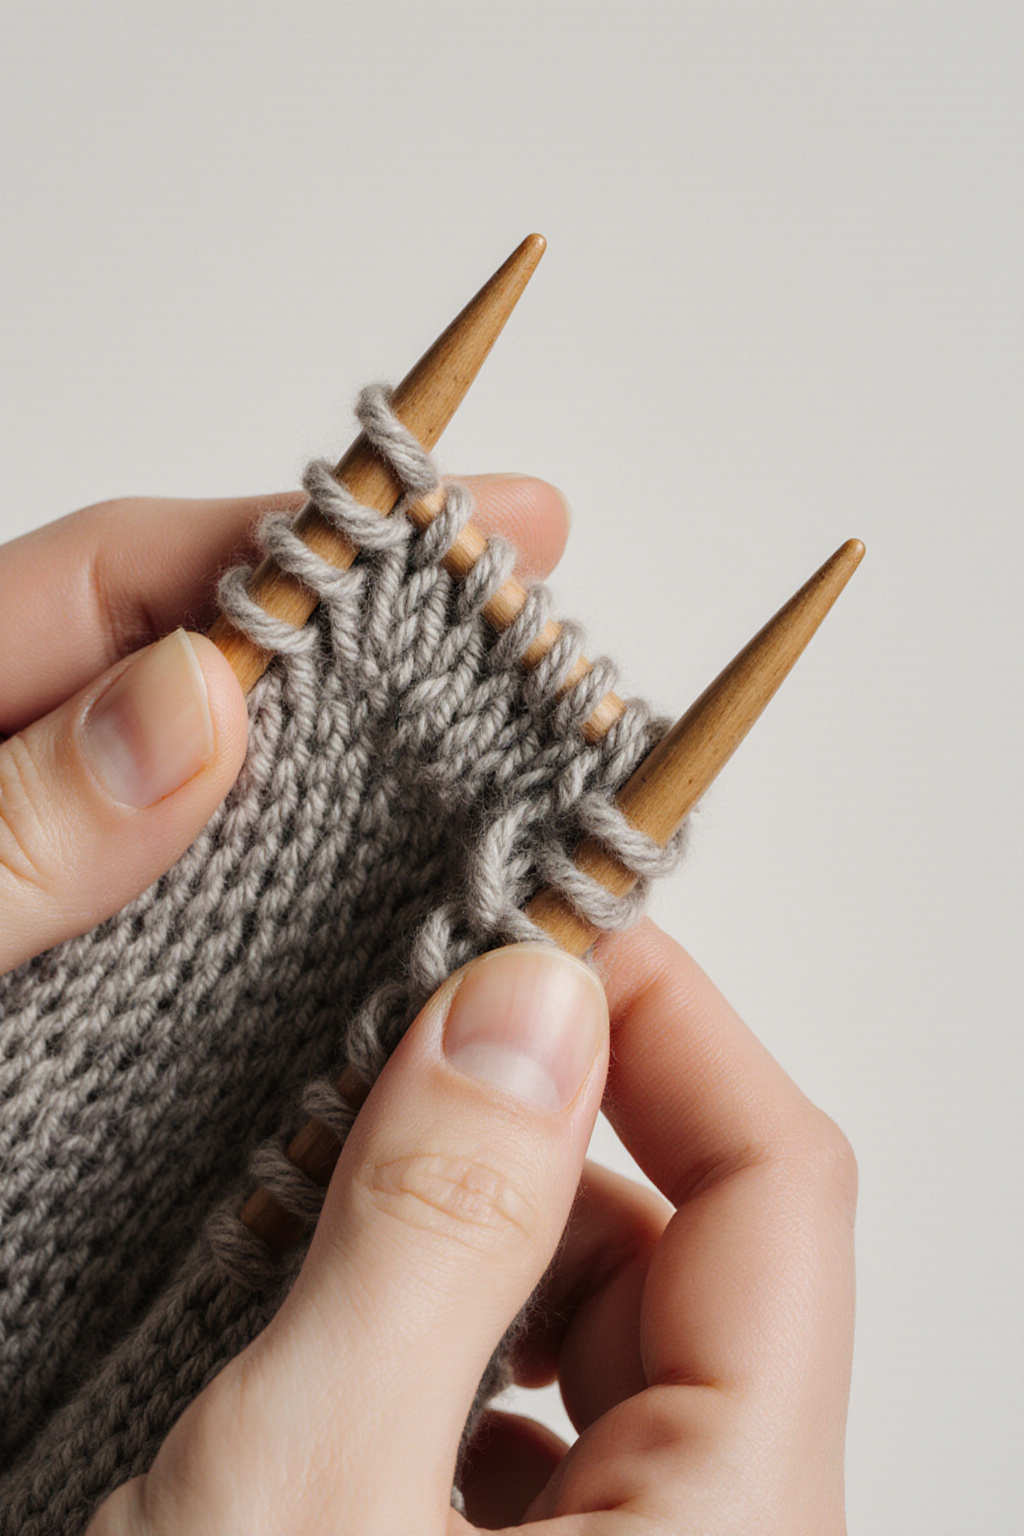
On a 64 stitch sock, the flap uses 32 stitches and is worked for 32 rows. Because the first stitch of every row is slipped, the edge carries 16 loops on each side, and each of those loops becomes one picked-up gusset stitch.
Slipping every other stitch on the right side rows also doubles the thickness of the fabric exactly where the heel takes the most wear. Both effects come from the same instruction, which is why it is worth following even when it looks like decoration.
Turning the heel
The heel turn is where beginners stop trusting the pattern. It is a set of short rows: you knit past the middle, decrease, turn the work before reaching the end, come back, decrease, turn again. Each row leaves a stitch behind on either side until the sides are used up.
On 32 heel stitches it typically ends with 18 stitches left, and the fabric that was flat is now a cup. There is nothing to understand while doing it: follow the rows, count the stitches given in the parentheses, and it works. If the count in the parentheses does not match yours, the mistake is in that row, not in the method.
Picking up the gusset without a hole
Pick up through both legs of each slipped chain, not just the front one, and add one extra stitch in the corner where the flap meets the instep. Decrease that extra stitch away on the following round. The alternative cure, picking up an additional stitch in the horizontal strand at the corner, works just as well; the failure mode is doing neither and then trying to sew the hole shut afterwards.
Grafting the toe
Kitchener stitch joins two sets of live stitches with a tapestry needle and leaves no ridge under the toes. The rhythm is four steps, repeated: on the front needle, knit off then purl on; on the back needle, purl off then knit on. Say it aloud until the sock is finished.
Pull the working yarn to match the tension of the knitted stitches beside it, not tighter. A tight graft puckers, and it is the one part of a sock that cannot be blocked out.
Two acceptable alternatives: a three-needle bind-off, worked inside out, which is faster and leaves a small ridge; and a drawstring wedge toe, closed like the top of a mitten, which some people find comfortable and others cannot bear.
Ladders, and the second sock
The loose vertical lines that appear where one needle ends and the next begins are cured exactly as they are in mittens: knit the first two stitches of each needle firmly, and shift the needle boundaries every few rounds. The full explanation sits in the entry on mittens on double-pointed needles, which is also the gentler place to meet the technique for the first time.
As for the second sock, the only reliable trick is to cast it on before putting the first one down. Knitting both at once, on two circular needles, removes the problem entirely and guarantees that the pair matches.
Toe-up, in one paragraph
Toe-up socks start with a magic cast-on at the toe, increase to the full stitch count, and use either a short-row heel or an afterthought heel worked into waste yarn. The advantage is real: you can knit until the yarn runs out and still have a finished sock. The cost is that the heel shaping is less forgiving and harder to adjust for a high instep.
Added 12/09/2026. A finished pair is made for the walk the week still owes; the September entry on what an evening of knitting does for the heart keeps the two apart and counts both.
One more page on the same question: what the First World War appeals asked for.