Entry of
How to read a knitting pattern, line by line
A pattern is a compressed document. Most of the confusion it causes comes from three conventions that nobody ever explains out loud.
Knitting patterns are written in a shorthand that assumes you already know it. The shorthand is small, though, and consistent: perhaps twenty abbreviations, three punctuation conventions and one number that governs everything else.
Read it in this order, before casting on
- Finished measurements. Compare them with a garment you already like. This is the only place where the size question is really answered.
- Gauge. The number everything depends on.
- Yarn, needles and notions. Total yardage matters more than the brand.
- Notes and special stitches. Short, and usually the part that saves an evening.
- The instructions, all the way to the end, before starting.
The gauge statement
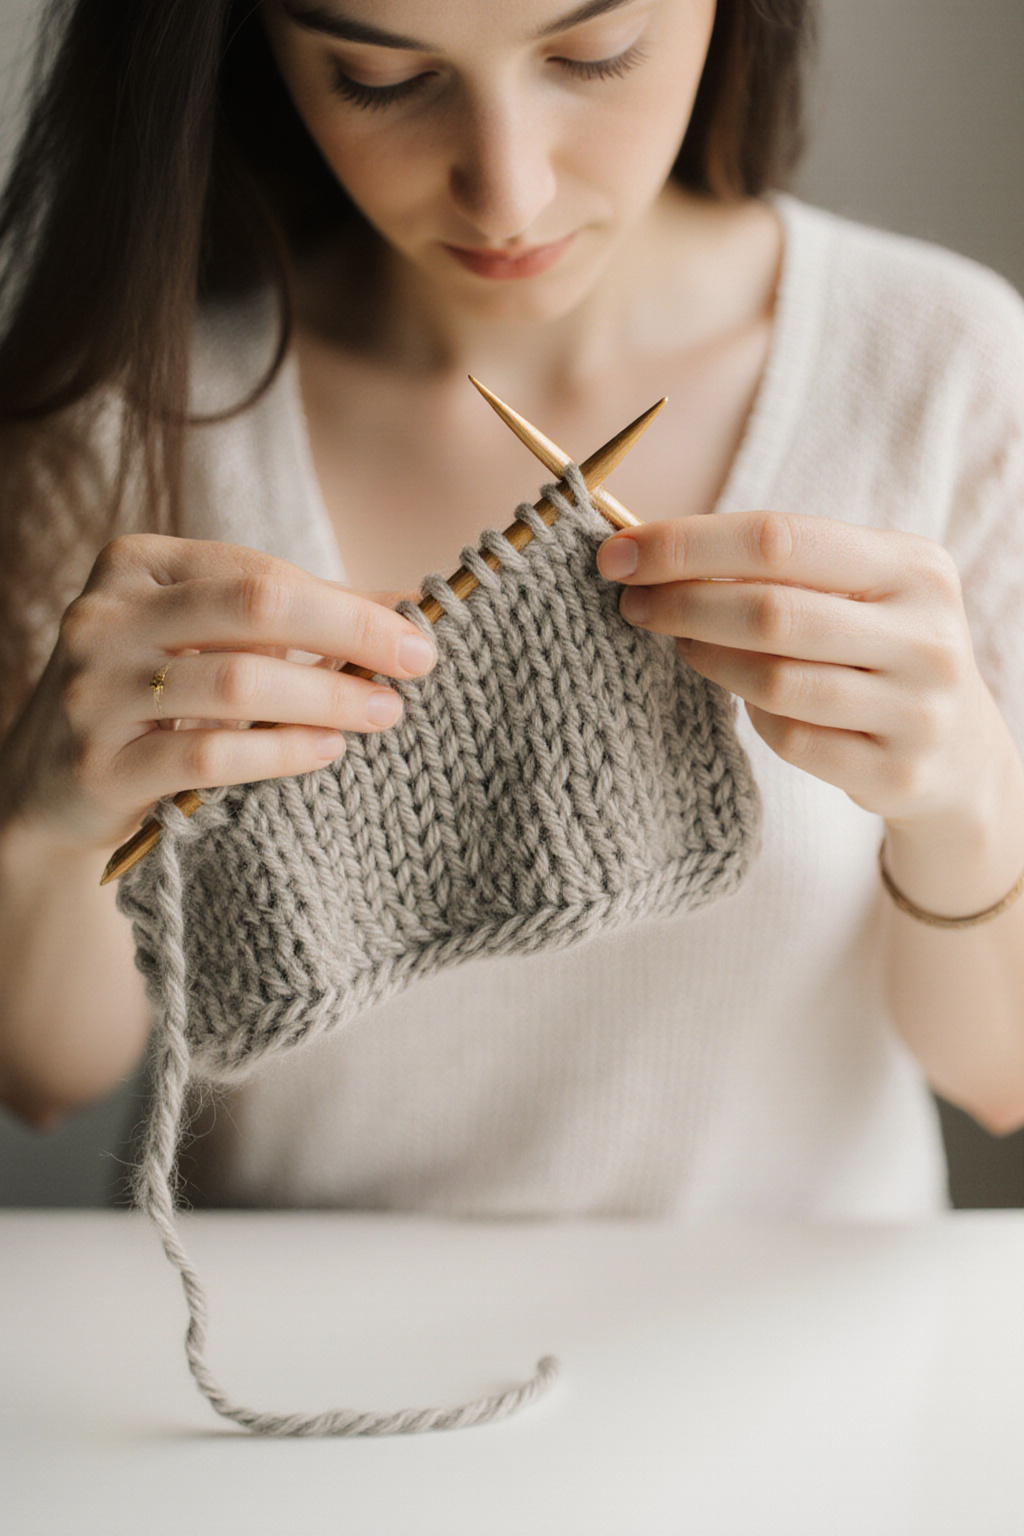
It looks like this: 20 sts and 26 rows = 4 in (10 cm) in stockinette, blocked, on 4.5 mm (US 7) needles. Every part of it is load-bearing.
- 20 sts and 26 rows: both matter. Stitch gauge decides the width, row gauge decides anything worked to a number of rows rather than to a length, such as a yoke or a sleeve cap.
- = 4 in (10 cm): gauge is always measured over four inches, never one, because a one-inch error multiplies by twenty across a sweater.
- in stockinette: measure in the fabric named. A gauge taken in garter stitch tells you nothing about a stockinette pattern.
- blocked: if it says blocked, wash and dry the swatch before measuring. Some yarns change by a full stitch per inch.
- on 4.5 mm needles: a starting suggestion. If your swatch has too many stitches in four inches, go up a needle size; too few, go down.
Knit the swatch at least six inches wide, and measure in the middle, away from the edges. Nothing later in the pattern can repair a wrong gauge, and no amount of careful knitting makes a garment that is two sizes out.
Sizes and the numbers in brackets
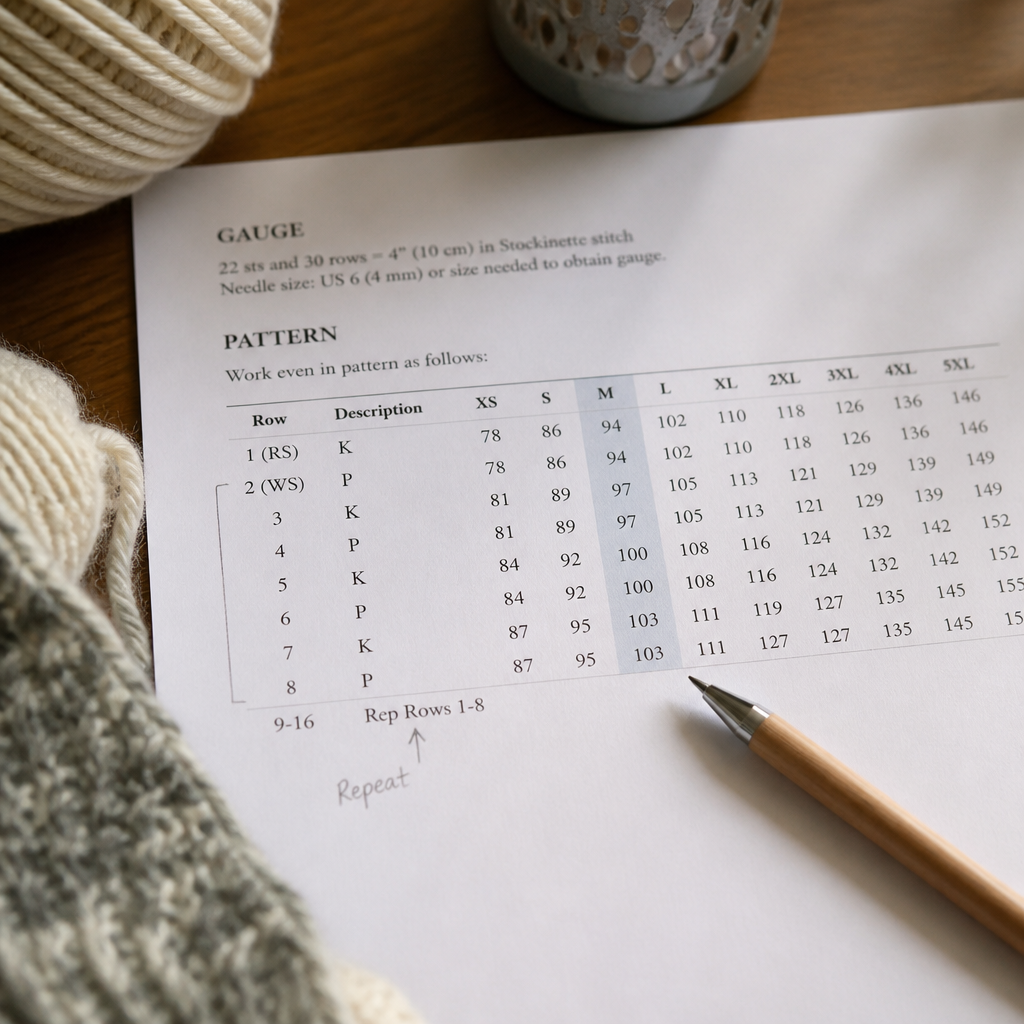
Sizes are written as a list: 32 (36, 40, 44, 48). The first number is the smallest size and the ones in brackets follow in order. Every instruction in the pattern repeats that structure, so cast on 80 (90, 100, 110, 120) sts means the third size casts on 100.
Choose your size once, from the finished measurements and the ease you want, then go through the whole pattern and mark that position everywhere. Ease is simply the difference between the garment and the body: a sweater with 2 inches of positive ease is 2 inches bigger than the chest it is meant for.
Abbreviations worth knowing by heart
- k, p, st(s)
- Knit, purl, stitch or stitches.
- k2tog
- Knit two together: one decrease, leaning to the right.
- ssk
- Slip, slip, knit: one decrease, leaning to the left. Patterns pair it with k2tog so that shaping mirrors on both sides.
- yo
- Yarn over: adds one stitch and leaves a deliberate hole. The basis of lace, and the accident behind most unexplained extra stitches.
- M1L, M1R
- Make one left, make one right: increases worked into the strand between two stitches, leaning in the named direction.
- pm, sm
- Place marker, slip marker.
- RS, WS
- Right side, wrong side: the face of the fabric that will show, and the other one.
- CO, BO
- Cast on, bind off (also called casting off).
- work even
- Carry on in the established pattern with no increases or decreases.
Asterisks, brackets and the repeat
Three conventions cover nearly every repeat you will meet:
- *k2, p2; rep from * to end means: do everything after the asterisk, over and over, until the row runs out.
- [k2, p2] 3 times means: do what is inside the brackets, three times, then carry on with the rest of the row.
- *k2, p2; rep from * to last 2 sts, k2 means the repeat stops early and the last two stitches are worked separately. The tail is not optional.
A repeat implies a multiple. A row of k2, p2 needs a stitch count divisible by four, and a pattern that says multiple of 4 plus 2 means 4n + 2 stitches: 26, 30, 34 and so on. Checking the multiple before casting on saves ripping out the first four rows.
The number in parentheses at the end of a row
When a row ends with something like (48 sts), that is a checkpoint, not a comment. Count. If you have 47, the mistake is in the row you just finished, where it takes a minute to fix, rather than four rows later where it takes an evening.
Charts
A chart is a picture of the fabric as it will look from the right side. Read it from the bottom up, because that is the order the fabric is made in.
- Worked flat: right side rows read right to left, wrong side rows left to right, exactly as the knitting travels.
- Worked in the round: every row reads right to left.
- Row numbers tell you which is which: numbers on the right mark right side rows.
- The key governs, always. A blank square usually means knit on the right side and purl on the wrong side, but only the key can say so for this chart.
- Heavy vertical lines mark the section that repeats across the row.
The phrases that hide trouble
- at the same time
- Two sets of shaping happen in the same rows, for example neck decreases while the armhole is still shaping. Write both out on paper before starting.
- reverse shaping for the second front
- Everything you just did, mirrored. Nothing is written out, and it is easy to knit two identical fronts by mistake.
- as established
- Keep the stitch pattern going through whatever else is happening, which usually means the pattern moves as stitches are added or removed.
- ending with a WS row
- Stop after a wrong side row, so that the next row is a right side one. Ignore it and the shaping lands on the wrong face.
Patterns for accessories are the sensible place to practise all this, because a wrong gauge costs a hat rather than a sweater. The scarf worked the same way on every row uses none of these conventions, which is exactly why it makes a good first project, and the mitten introduces them one at a time.
Added 12/09/2026. The same patience that reads a pattern line by line reads a tune list; the entry on knitting to an old-time session uses it.
One more page on the same question: how a pattern booklet is made.
One more page on the same question: writing a pattern down before it is lost.